Category Archives: Advanced Compression Techniques

How to achieve an Audiophile-Grade Mastering ?

1_6_studio

If you end up spending more than five minutes on an Audiophile forum, you will invariably read someone complaining about the fact that, even though our technology has evolved, Audio quality somehow went in the opposite direction.

Of course, Audiophile are complainers. It’s part of their DNA. Their purpose in life is to be critical and difficult about what they are listening to (I sound like if I hate them, but that is not the case at all ;). It’s like wine tasting, it’s part of the hobby. Nevertheless, the issue is real in the world of professional audio engineering.

We do have the technology to make it sound cleaner, purer, bigger and **Insert all the HiFi jargon you can think of here**… But Music is an industry. Therefore it is at the mercy of other factors that are not always artistical.

What makes a recording Audiophile-Grade ?

There are no standard, recipe or reference book to follow. Yet, does that mean that it is entirely subjective ? The answer obviously has to be “No”.

There is indeed a little bit of “Yes” to be included in the answer; Pretty much every recording nowadays are made in 24 bit, using modern recording equipment, using 32-bit float editing processors, and yet, most recordings sounds ok, to pretty bad. And even if you make it 32 and 64 respectively,  there is absolutely no guarantee the product will sound better at the end. So if you look at the specs only there, this is one of the rare fields were you cannot judge the quality of a final product only based on the numbers.

So why is the answer “No” then ?

Because there are definitely some guidelines that will lead better sounding masters:

LOUDNESS

Yes… Let’s start with the most obvious one, and get rid of it quickly. To me, loudness isn’t as relevant as people think.

Let me start with something bold here: Do we really care how loud it is ? Is there really such things as “The Competition”?

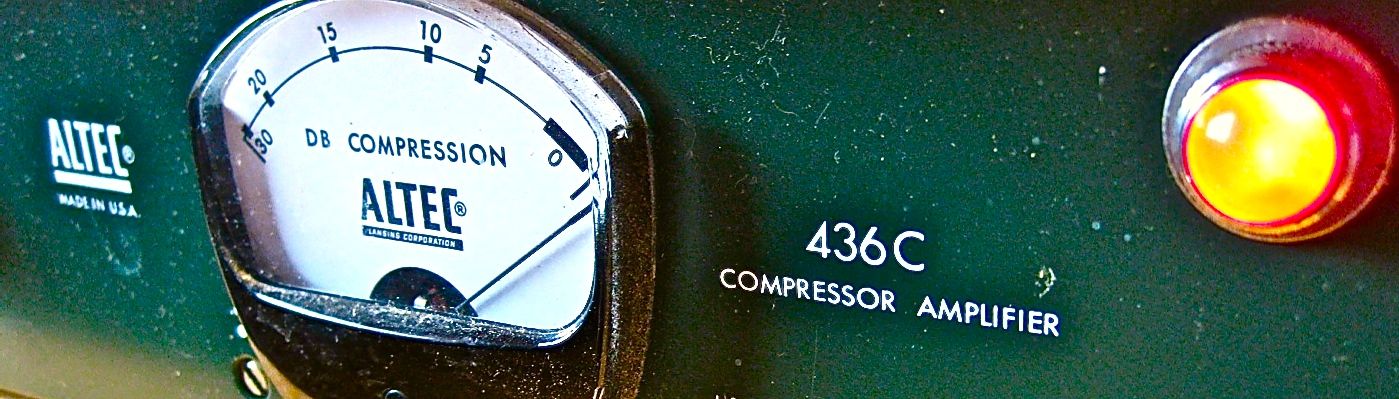
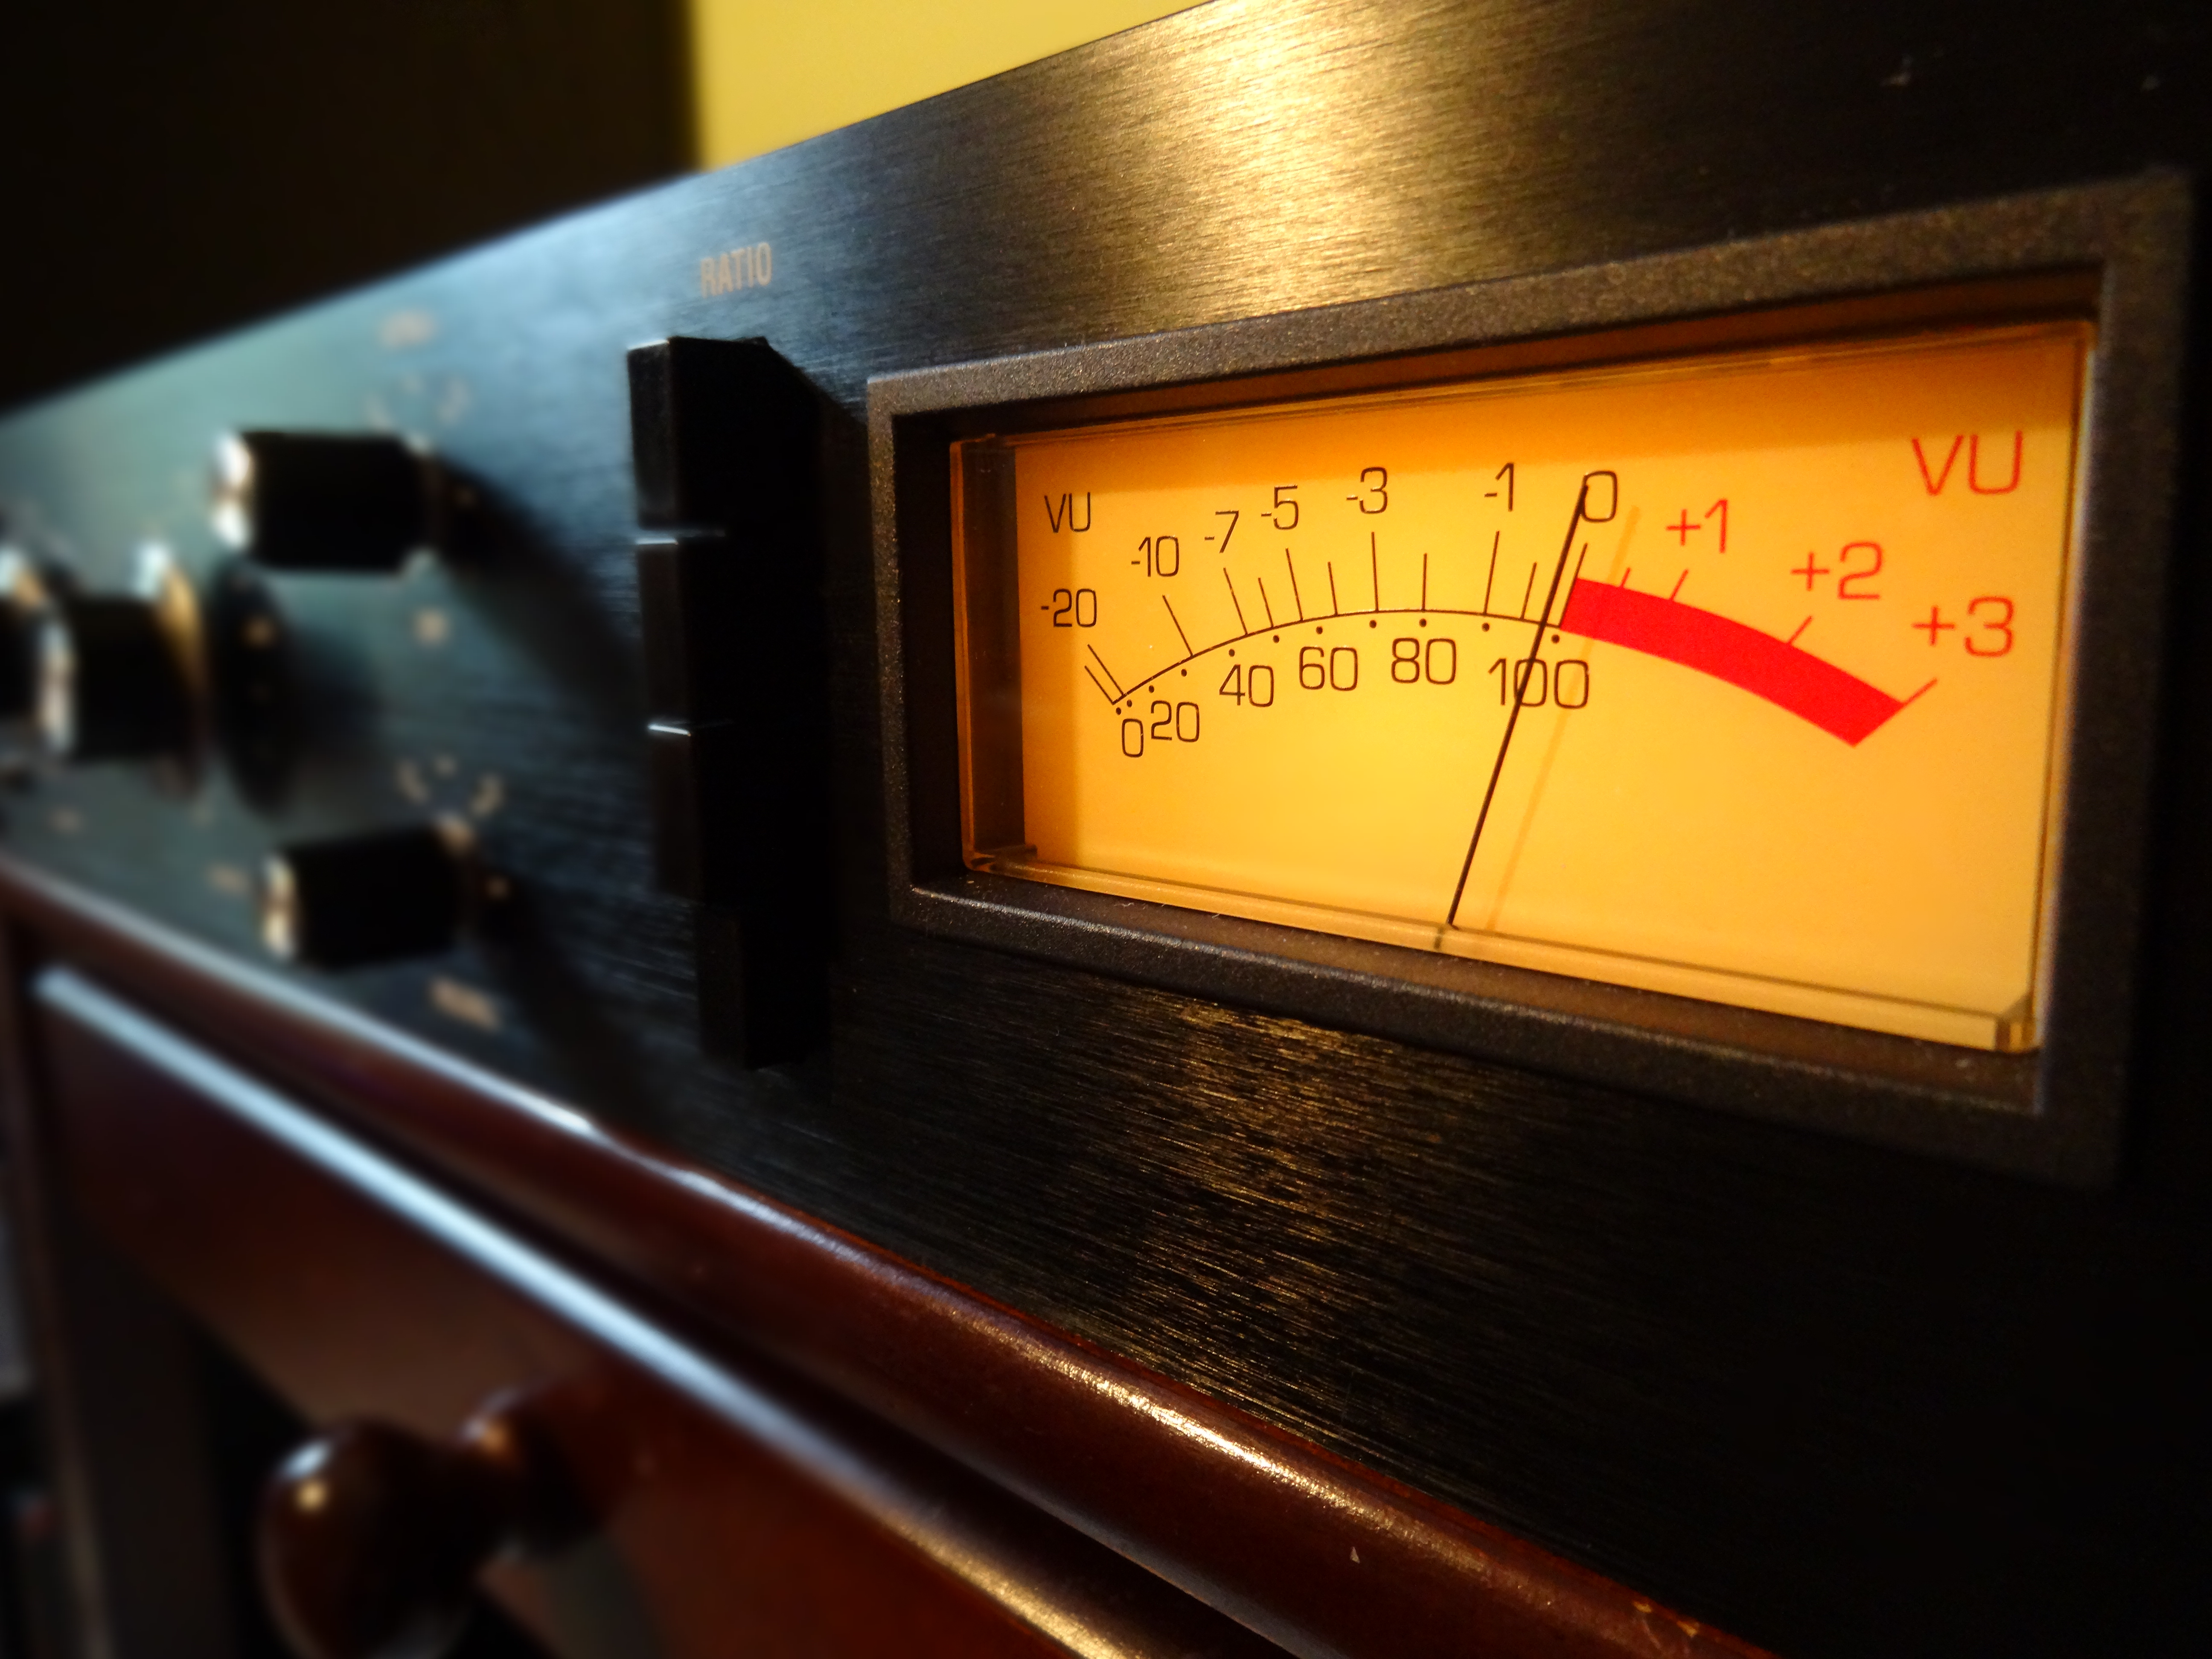
The first step towards an audiophile recording, in my opinion, is simply to just stop looking at the meters, and go with what feels right. I honestly couldn’t care less if what I’m mastering is a D10 or a D20. (D-Something, usually refers to the difference between the Peak and the RMS volume of a material, D is for Dynamic range).

Does it feel good ? Does it serve the music well ? These are the important questions to ask.

That said, a lot of mastering engineers put a lot emphasis on metering, and I think that could be one of the reason why today’s recording are squashed. The value on the meter should interfere with the decision making process.

But don’t misinterpret me here. I am not against loudness. I actually end up make things pretty loud if the genre requires it.  What I’m saying is, we should never try to make it loud for the sake of making it loud. If the music naturally responds well to gain reduction and it feels good, and even asks for more, let’s give it what it wants.

Where it is critical, it is when the music doesn’t respond well. You try to push it a bit and it falls apart or worse, you lose something exciting. In that case, you have to choices. First, you don’t care and you bring it to D10 because that’s what everybody does (What most people seems to be doing). Or secondo, you make it as good as it can, by focusing on how the dynamic is breathing with the compressors. Maybe you will end up at D10, D12 or D14, but honestly… I couldn’t care less. The second one, is my way of working, and until now, it has only served me well.

“What feels good is what you get” is my mantra.

There is a saying in the audio mastering field: “It is not how loud you make it, but how you make it loud”. These wise words mean, forget loudness for the sake of loudness, just try to make it sound as good as you can, and if you do your job well, it might turn up pretty loud without showing any signs of the side effects that the loudness war is known for.

SAMPLING RATE

If there is one objective parameter you can change to make your masters sound more HiFi or Audiophile-grade, it is the sampling rate.

If you compare 44.1 kHz to 96 kHz, they clearly sound different.

The main advantage of using 44.1 kHz is that it saves you computational power. However, it comes at a price, especially if you heavily process everything. It brings a kind of crunchiness we can hear in a lot of modern production.

Ironically, heavily processed music would benefit more from using high sampling rate than purist recordings (Jazz, Classical, and various Audiophile stuff), as the problem about 44.1 kHz isn’t the playback itself, but the processing errors (aliasing) that are adding up each time you’re adding a plugin. However, since using a boat load of plugin requires a lot of CPU power, heavily processed music usually end up being mixed in 44.1 kHz.

96-192 kHz on the other hand sound much cleaner, but obviously comes at the price of a heavier CPU consumption. This isn’t necessarily a bad thing, in the sense that limiting your processing will also make your recording sound more HiFi.

96 kHz is now my standard, as it does not really limit my processing in the case of a stereo Mastering setup, but sounds very good. There is also a much bigger gain in upgrading from 44.1 kHz to 96 kHz, than from 96 kHz to 192 kHz. 192 kHz can be somewhat restrictive in terms of CPU.

A SIMPLIFIED CHAIN

Since I just mentioned it, as well moving on with this one.

Every time you are adding an effect, you are trading a bit of “objective” quality in order to gain (I hope) some “subjective” quality. A HiFi or Audiophile-Grade mastering will be all about finding the perfect equilibrium between both, and in case of doubt, sticking to the objective one. The most purist albums will in fact work very hard to capture the best performance they can (Flawless recording session), then simply try to do as little as possible in post processing.

“A HiFi or Audiophile-Grade mastering will be all about finding the perfect equilibrium between both, and in case of doubt, sticking to the objective one.”

One has to keep in mind that every processing comes at a price. But if one has access to a very high quality monitoring, and knows well the artifacts of each process, that person can optimize the recording A LOT before it has discernable artifacts.
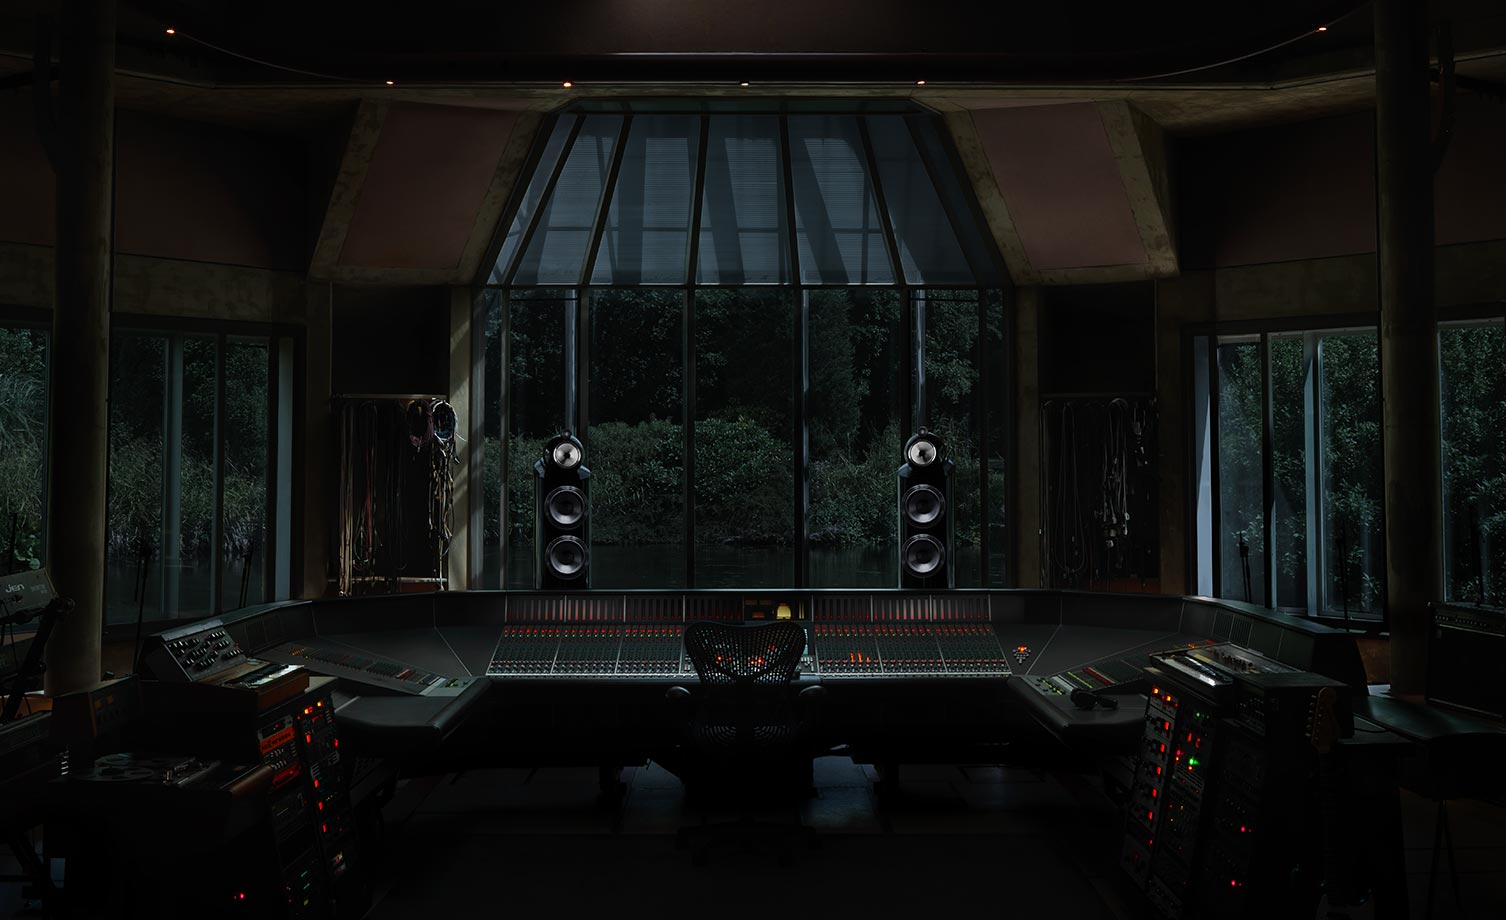
MONITORING QUALITY

To me, this is the most obvious and relevant one (way more than the loudness “issue”.)

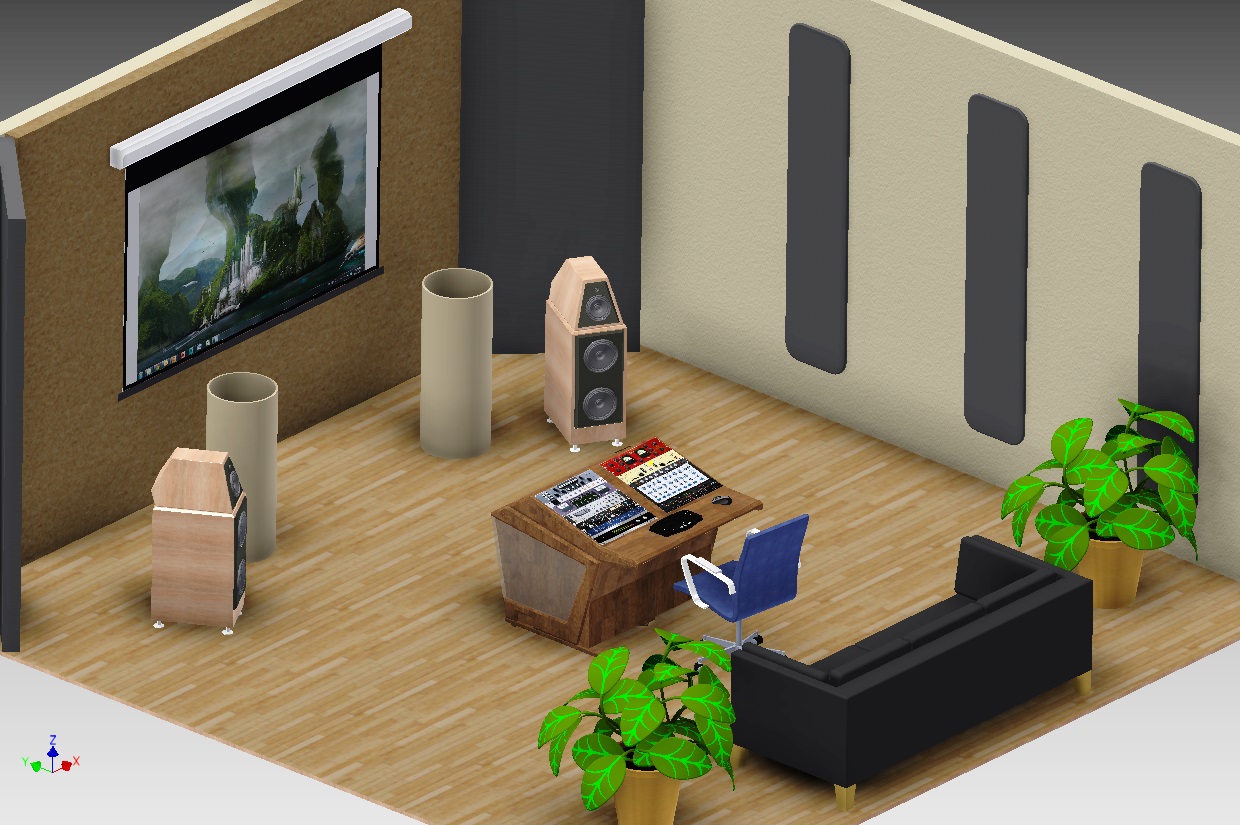
Obviously, if you hope to make an Audiophile-grade mastering, you need to have a top notch Audiophile-grade listening environment. This includes indeed the loudspeakers, but also the room acoustics, the amplifier and the A/D converter as well.

The more transparent your monitoring system is, the closer you are to the truth. That’s no surprise that we see 20k$+ monitors in mastering studios. Now, what you do with it, is another thing… You obviously need both: The right tools in the right hands.

My point is, if you can’t hear what you’re doing, your processing

FOCUS ON TONES, TEXTURES AND DEPTH

That is a very important one in my mind.

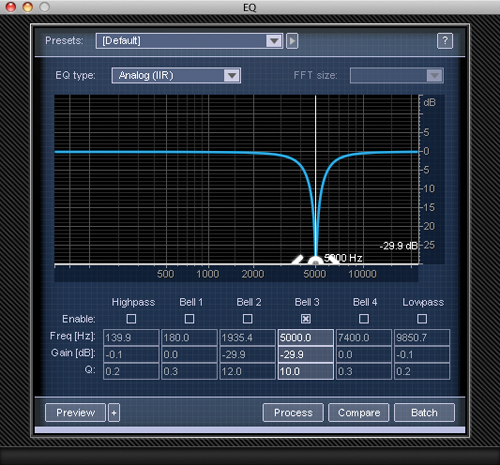
When you first start off in Audio, you might have a hard time to hear what a compressor does and you might not be able to discern a 3 db dip in a spectrum, etc. But then, as the years pass you become more experienced and aware of what you’re doing. You eventually end up hearing a much deeper dimension that I often refer to as tones and textures.

It is like comparing a kid’s painting versus a professional experienced painter. You might the same element in the canvas, but one of them will add more effect, depths and textures. It is the same thing.

I receive mixes sometimes and clearly, everything has been done in the box. All I hear is a blue car on a black road, an all blue see at the back and an all yellow sun smiling in the corner of the page. If they used digital saturator plugins, everything looks vivid like a children’s book. This can be good for some music genre, but it is obviously not or old rock and blues.

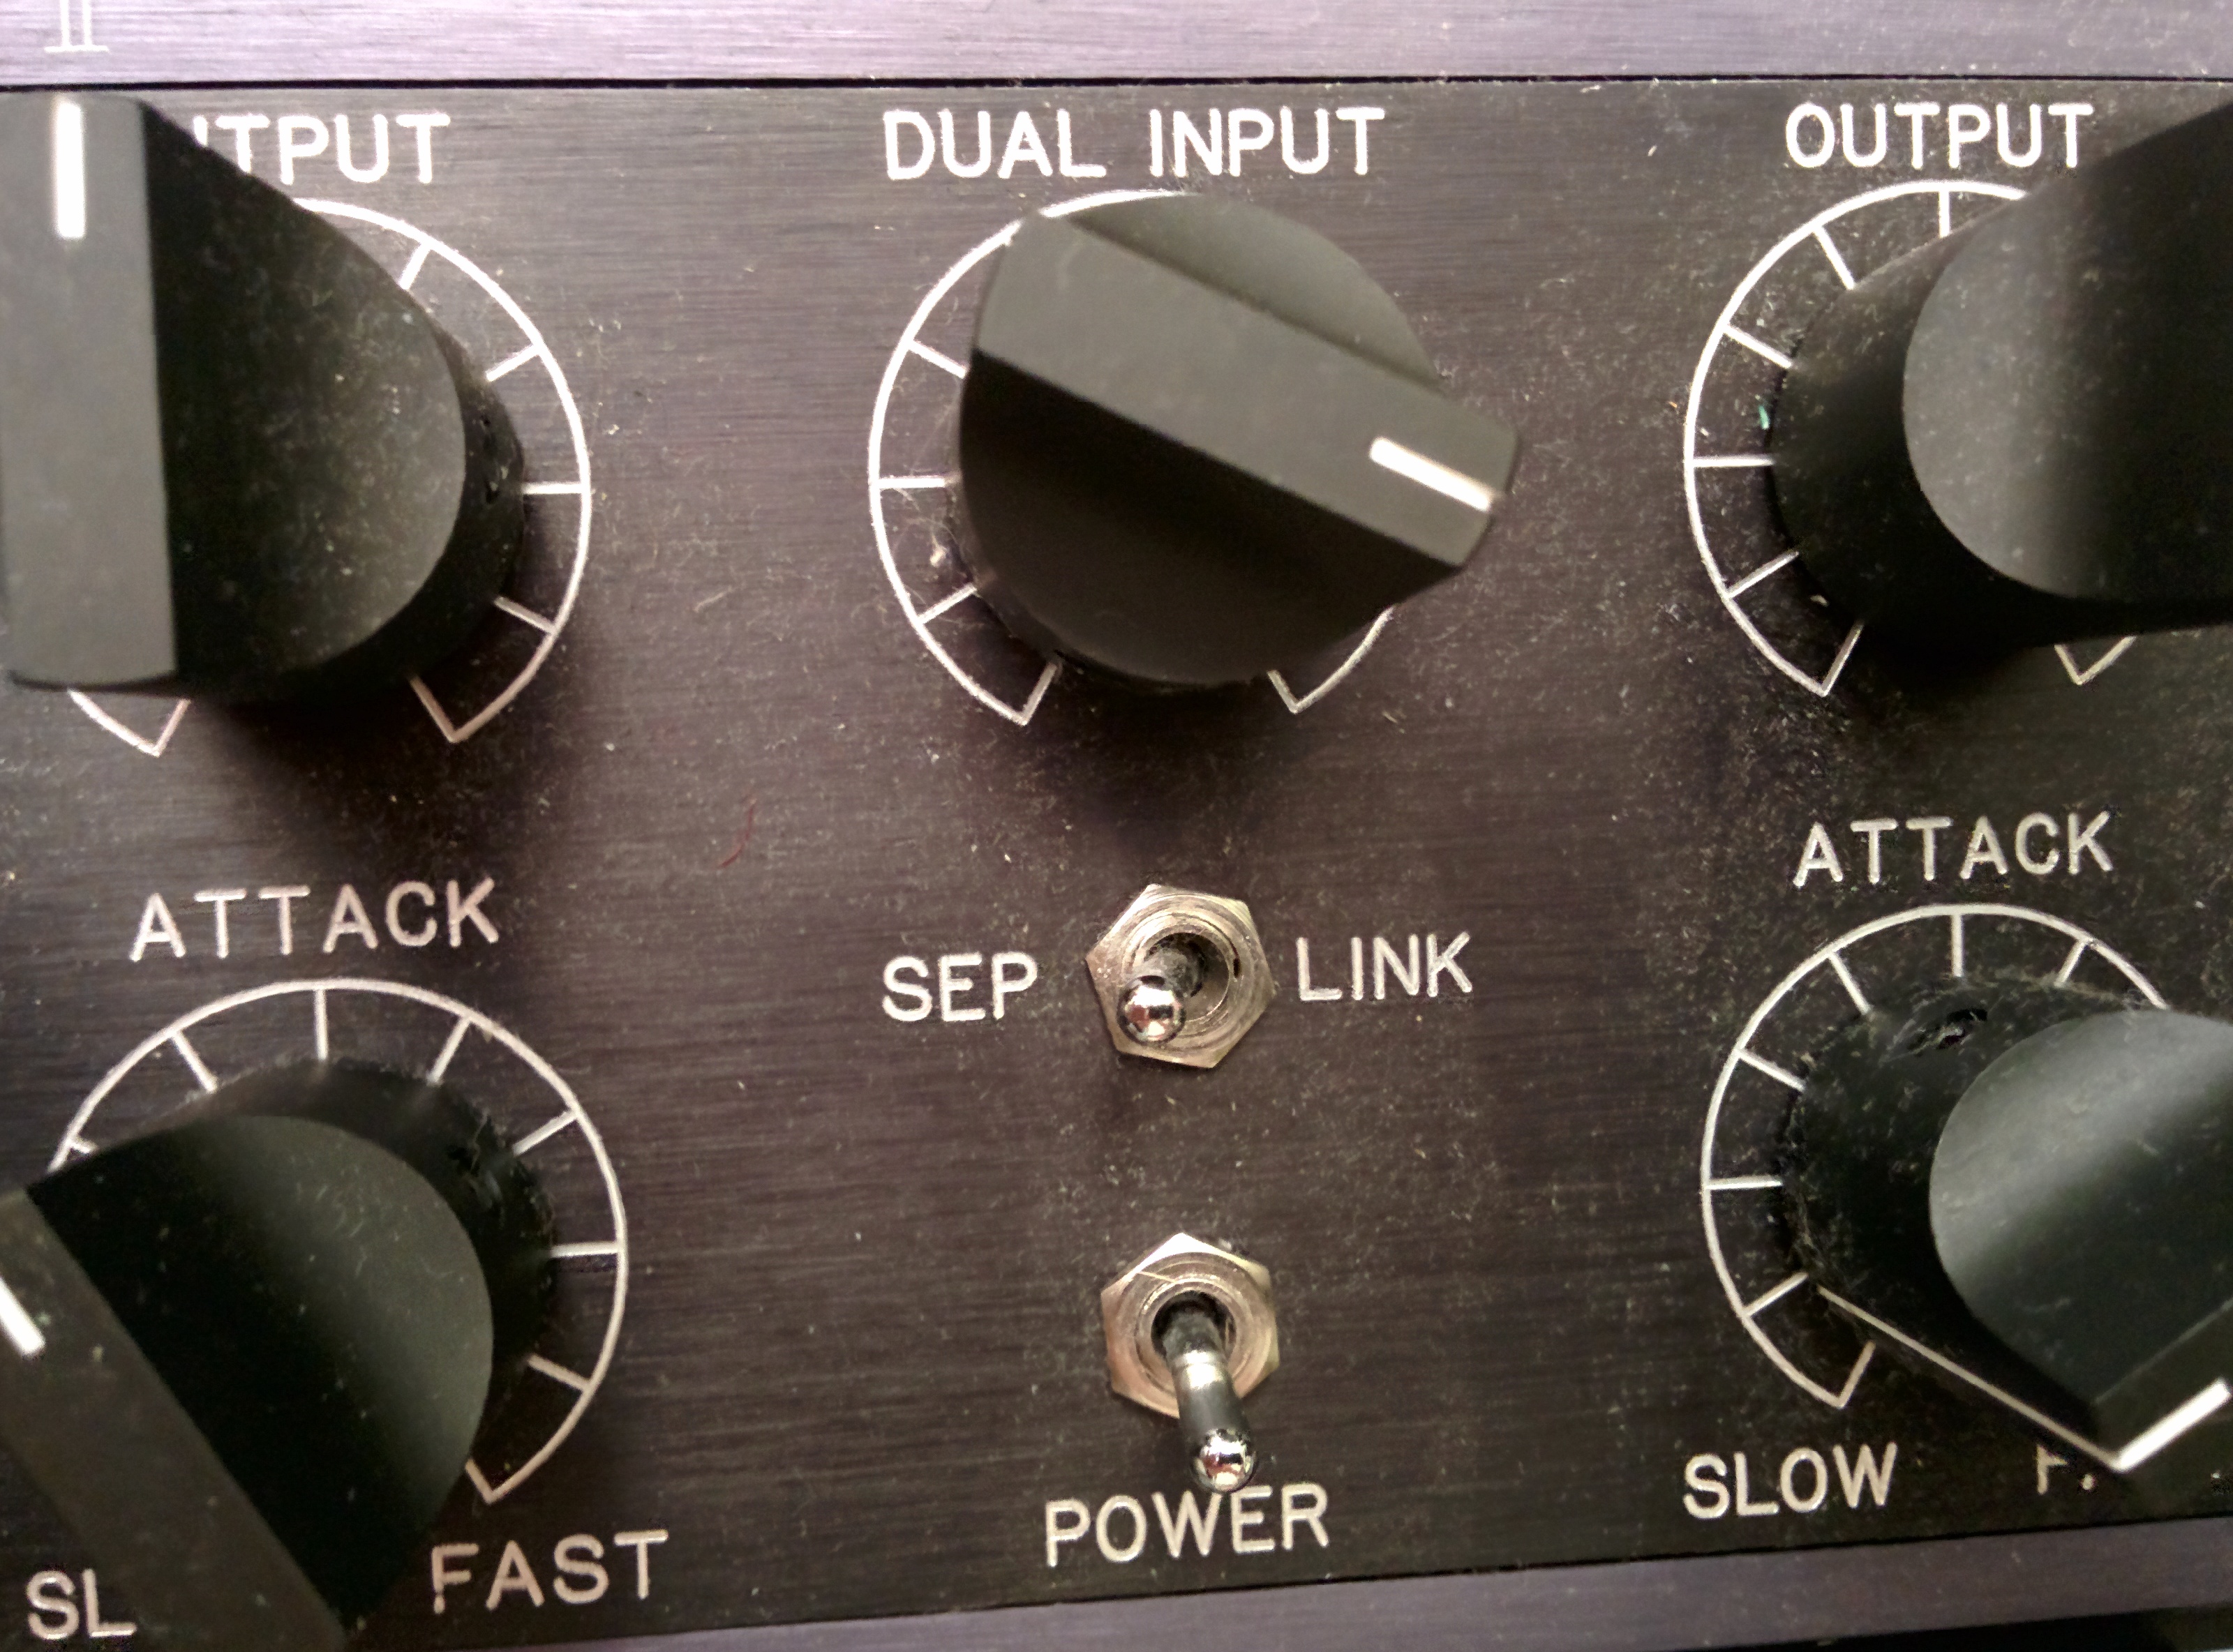
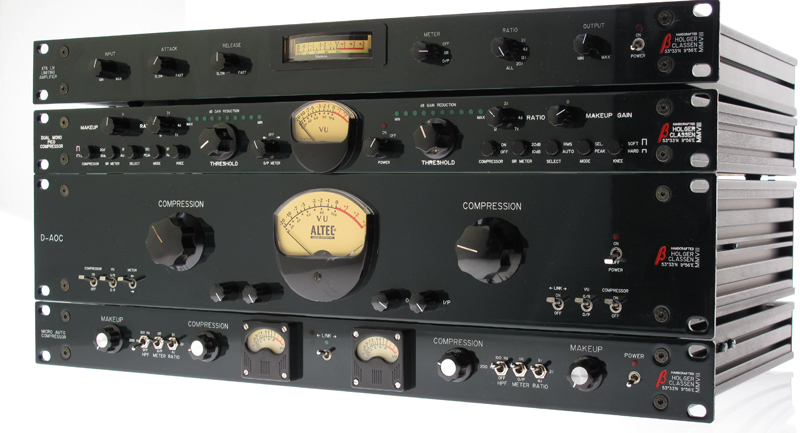
Using analog gear can be used to add different textures to the project. It adds modulations to the sound that are so subtle and complex that the human brain as no choice but to interpret them as details or grain.

You probably heard talking about a session where the Mastering Engineer only passed the material through some vintage compressor and needle wasn’t even moving. That happens all the time, and that is exactly what I am talking about…

NOTE: A lot of Audiophile productions are actually processed entirely digitally, mainly in the Classical and Jazz world. In that case, the production aims to reproduce exactly the performance without altering it in anyway. The objective is to be as close to the real performance as possible, not to make it more vivid than in reality.

I want to emphasis the point that these performance need to be very well recorded by geniuses such as George Massenburg (McGill University, Montreal), otherwise, they can get boring very easily and sound very cold and digital-ish.

AN INTENSE FOCUS ON DYNAMIC

One great thing about HiFi loudspeaker, is that they aim to reproduce the dynamic very well.

Audiophile will focus on how dynamic is allowed to move, and how the music is breathing with the speaker. To come back to the first line of this article, the main point that audiophiles complain about today’s recordings is the lack of dynamic (as well as a very high level of distortion… more on this later on).

This can be related a bit to the loudness topic above, but the truth is, that it doesn’t necessarily have to be. While a good mastering engineer will be able to boost the volume without hurting to much the record, a great mastering engineer will be able to make a recording not only louder, but also more alive and dynamic !

That might sound counter intuitive to a lot of people, but compressors can actually be used to increase dynamics and make things sound more alive, as opposed to dull.

“The transient is where the magic happens”

All the trick is hidden in the attack and release time of compressors and other dynamic processors. I also like to use envelopper to shape the transient.

As once said Bootsy from Variety of Sound, “The transient is where the magic happens”…

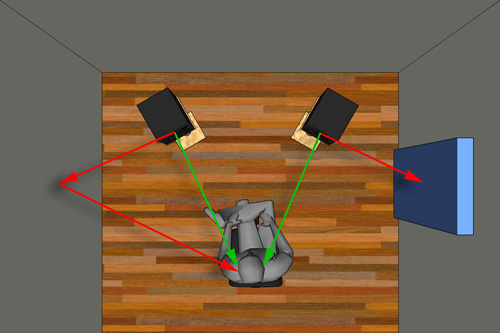
A REALISTIC SOUNDSTAGE

At the mastering stage, it can be a bit late to address this point, I admit, but we definitely can help it.

As I described often in previous blog post, a mix should sound as a soundscape, where you hear the different items in different locations. At the peak point of a song, you should feel a wide wall of sound in front of you (unless we are taking of a more intimate project, of course)…

One method to work the sound stage on a stereo mix, is by using the mid-side technique. Using the mid side, you have control over different things: How the dynamics differs from the center to the side, how the center is louder than the side, as well as how wide is the side.

This gives you the opportunity to make a boring stereo mix closer to a live performance.

In a recent project I worked on, The performance had been recorded live, directly onto a stereo track. By definition, no remixes was possible. However, the mix was clearly lacking realism stereo-wise. Everything felt flat. By using some mid-side techniques creatively, I was able to really create the illusion that the singer is in front of you, but most important physically in front of the band. I was also able to give the feeling that the band was being and surrounding him in circle! The depth and feeling that was added to the whole project was definitely worth the extra effort!

LESS TO NO CLIPPING

Clipping is often described as the “most transparent way to achieve loudness”. Some top mastering engineers, such as Ted Jensen at Sterling Sound, heavily rely on it to make everything sound loud.

While it is true that clipping is dynamically quite transparent (Our brains can extrapolate up to a certain point where the peak was going anyway), it is not true that it is the most transparent acoustically, as it generates a great load of very agressive harmonic distortion.

It makes a recording more agressive and brighter than it really is. It is also the number one factor that causes ear fatigue.

Audiophiles have been complaining about “too loud and distorting records” for a while now. They were right. I think the good old trick of “Clipping it in the converters” has been overused. That doesn’t mean it is bad. It is just that it became a habit and because of that, it has been applied on records that absolutely didn’t needed it.

Without clipping, many of today’s recordings could be considered as audiophile grade. But since they have been ruined by overclipping and they only good for radio hits, and cheap sound system playback.

In order to master an Audiophile-record, I recommend using clipping very little, if not none.

SOME MARGIN ON THE HEADROOM

That comes a bit in hand with the loudness war.

People got so desperate to gain half of a db, that they brought everything to the ultimate ceiling of 0 dB. Others, more conservatives, were using -0.1 dB as ultimate ceiling.

The truth is that, even some expensive converters might overshoot if the peak is to close to the 0 dB, resulting in audible distortion.

Also, while most people think that MP3 is low resolution format, you can actually deliver very high quality audio using this technology. Just have to leave it some headroom.

The Mastered for iTunes (MFiT) programs offered tools that allow you to convert it to m4a and then decode it back to wav in real time to hear the influence of the margin. You will be surprised that even a material maxed at -0.5 dB can still clip times to times once converted to AAC…

-0.5 dB of margin is a good ceiling to respect, and I sometimes use more.

RE-THINK OUR WAY OF WORKING

It indeed requires a lot of experience and knowledge to produce High Fidelity masters. Although Audiophiles seem hard to satisfy, the truth is that we could easily have given them what they were asking for a long time ago. Their requests are rather simple: Good sound, mixed and mastered with good taste.

The truth is that the trends audio production have been a bit out of hand for a while now. The access to more tools turned out to be a poison more than an antidote.

I think we now need to sit back, and think about our work habits: Does this really need compression ? Does this song really feel like being smashed in a brickwall limiter 3 times per second? Does everything need to be that vivid all the time ? Does it makes sense to clip a ballad all the way through ?

Sometimes, the answer is yes, often the answers is a plain no.

Stereo Compression: Linked or Separated ?

Manley's link/sep switch


From the picture above of my Manley Stereo Compressor, you can notice two things:

1) My Manley Variable Mu is dusty and would benefit from being cleaned.

2) It has a Separate/Link switch for two different stereo compression mode.

The last two days, I’ve been exchanging emails with Drew (Vancouver, Canada) regarding the following question:  “Stereo Compression: Is it better Linked or Separated?”.

To answer this question, let’s consider few scenarios:

Case 1: Ideal Dual Mono Configuration (Sep)

You have two perfectly calibrated machine in parallel and you process your left and you right separately (in dual mono), that would technically be the perfect stereo compressor; as you pass a mix through it, and there is no surprise. The center stays at the center, and the side are compressed accordingly to what passes through it.

That’s actually how plugins work because digital is « perfect », at least in terms of calibration.

Case 2: Linked Mode

Stereo analog compressors often give you the option to go linked instead of separated, which kind of « sums both signals for its detector circuit ».

This is actually not always true.  For compressors having individual controls for each channel, the link mode combines the gain reduction and make both GR equals. It basically applies the largest GR value of both compressors to both compressors. The manley vari-mu works that way in Linked mode. I can have two completely different settings on both sides and whatever GR value is higher at the moment is applied to both channels.

So, back to the case, you have a mix where there is a super loud Low Tom hit panned on the left side, and a soft string pad on the right side, a crazy gain reduction will be applied on both side. For the left side, it is the appropriate response: The huge tom hit is controlled. On the right side, however, the strings is damped by 6 db while it shouldn’t. This therefore creates an important artifact in the stereo image.

So why the stereo link option exist then, you will ask ?

Case 3: Less than ideal Dual Mono configuration

You have bought the same mono compressor twice, but at two different times, from two different suppliers. They are NOT matched pairs. One was last calibrated 3 years ago, the other one is fresh out of the box. The compressors do not have stepped controls. You want to compress a stereo mix. You will try to adjust both side at the same time, but hardly be able to match both sides exactly. From time to time, you feel the center is off a bit. You hear about the Stereo Link adapter, so you install it. Now you can just adjust the parameters on one side, and both compressor will apply the exact same GR on both sides; it’s easier and faster. Assuming your initial levels are matched, your center is back at the center. From time to time, a drum hits more on one side and the whole mix reacts weird, and the mix breath a bit less, but overall it’s so much better that you’re still happy with it. Then you go on a forum and tell everyone how stereo link is better than dual mono…

*Please note, that a Separate mode on a Stereo Compressor usually wouldn’t have this problem, as both channels are matched pairs. While processing the same mono signal through both channels of a stereo compressor, both mode should sound exactly the same for identical settings. If it does sounds different, that means your compressor needs calibrating/servicing. Linked mode can help to cover it up temporarily, but that comes to a price; a distorted stereo image and a mix that breathes less. It’s always better to have to identical machines.

Case 4: Dual Mono with different Left-Center-Right content

After the initial release of this article, it has been brought to me that I failed to mention another important consideration:

Using the same tom and string example, there would likely also be a vocal or lead instrument in the center. With separated stereo compression, the Tom side would get brought down and leave the string side at its original level (no nasty side effect in the strings), but the vocal in the center will appear to move to the string side. This is can be distracting and sometimes worse than having the string duck a little while maintaining the vocal in the center.

While this is absolutely true, I usually don’t personally hear it as a problem. Indeed, both linked and unlinked modes have uses, advantages and disadvantages, but I personally find that dual mono sound better all things considered.  

Interestingly, many mastering engineers I know are thinking the same, while Mix engineers often seem to like them linked better. This is probably due to the fact that the dynamic range of the material as well as the amount of gain reduction applied on each is dramatically different when used as a mixbus compressor versus when used as a mastering compressor.

Overall, I think it is safe to affirm that linked will often sound closer to mono and contained (Center as a priority), while separated will tend to sound much more open and wider. At the end, it might also just be a question of taste, or a matter of affinity with the music genre (EDM and Hip Hop,versus Jazz, Rock and Alternative).

High Frequency Management

OLYMPUS DIGITAL CAMERA


I recently received numerous questions regarding high frequency management of a mix. Among them, two stood out:

Nicola from Australia asked:

” How do I take out the shrillness of the high voices and flutes without muffling them?”

Fred from France Asked:

“How to know if the mix has too much low frequencies or too high frequencies (and vice versa)?”

High frequency seem to be an issue for a lot of people and I can imagine multiple reasons for that:

  • Overtones from lower frequency harmonic distortion will appear at the top of the spectrum and will make a mix seem brighter than it really is.
  • Affordable speakers are usually not linear in the top end region and have terrible harmonic distortion profile in that region as well.
  • Compressor detectors are more easily triggered by the low end content, so the dynamic of the top end remained uncontrolled.
  • Acoustics has a huge effect on both ends of the spectrum.

Answer to Fred’s question

 “How to know if the mix has too much low frequencies or too high frequencies (and vice versa)?”

The obvious answer to Fred’s question would be “Well, you listen to it…”. The fact that the question remains means his problem is more closely related to his listening environment as he does not seem to trust what he’s hearing. Technically, if you have a perfect speaker in a perfect room, and you listen to the best reference available long enough to print that balance in your mind, every mixes that you will produce will have the right balance and translate well everywhere. Now, we know that there is no such listening environment, but with a decent budget and a lot of work we can approximate it.

In fact, having a dedicated room for mastering is an on-going work. It requires constant work, and the addition of slight improvements will make a huge difference at the end.

Having the right monitors is the first step. That one is relatively easy to take care of;You learn a lot on the subject, consult many people and you can buy something very decent with the money you got. Usually, the hard part is to integrate in the right room. Without writing an article about acoustics, here are some guidelines you can follow to maximize your chances of success:

  • Size your speakers accordingly with your room. If you convert your  small bedroom into a Sound Studio, don’t go with huge speakers with 2x 10″ woofers, the low end will react badly, pretty much like a over sized sub woofer in a car. Bookshelves are good for small rooms, Slim towers for medium room size, and big monkey coffins for big rooms.
  • You should place your speakers away from the walls, especially if they are back ported.
  • You and the speakers should form an equilateral triangle.  The more driver you speaker has, the more distance you will need between you and the speaker for them to sum up. (You will have to be further away from a 3.5 way speaker than from a 2 way.)
  • The closer you are from the speaker, the quieter you’re monitoring to your mixes, less you will hear the room and the more you will hear the details.
  • Compensate for your speakers weaknesses; Wood floors will sound bright, carpet sounds dull, brick sound mid rangy, etc.
  • Some active speakers have tweeter level adjustment. By listening to reference recordings you can tweak it so the speaker blends into your room.

These are the first top recommendation I have on the top of my mind. Please do not hesitate to ask any other questions here if something isn’t clear. Don’t forget, the more critical is your listening environment, more you will be able to trust your ears and go with the flow!

Answer to Nicola’s question

” How do I take out the shrillness of the high voices and flutes without muffling them?”

If well recorded, high voices and flutes shouldn’t sound harsh at all; They are soft and smooth instruments. Adding high frequency to such instrument is usually desired, as it brings out “air” and detail. The first thing we have to figure out whether this shrillness really is in the recording in the first place, or simply if it’s the monitoring that is harsh sounding.

Having heard the original recording in question, I would be tempted to think that its the tweeters of your monitors that are harsh sounding, as the recording sounded very smooth and define. The best way to know is by listening to reference recordings. Are they feeling the same way? If the answer is yes, then it’s coming from the tweeter. Lowering it down might help the problem.

If not, “shrillness” or “harshness” is usually associated with high distortion levels. Make sure you have no distortion/saturators/exciters in the chain.

Image-1-5kHz-notch-q10

Still, cheaps audio interface have the nasty tendency to add harshness to a recording.  In that case, the only solution is to spot the worst harsh sounding frequencies in the recording and to notch them out. Sometimes a little 0.5 db notch does all the difference. If that frequency is really hurting, you might need more than a db. Personally, I combine many of such notches on every fatiguing frequency during mastering, so a loud master won’t sound harsh and aggressive.

Or could it be dynamics ?

As mentioned earlier, a compressor will be triggered by lower frequency content. Therefore, it often happens that the low end is pretty tight, but the high frequency content remains uncontrolled. In that case, a DEESSER might be the right solution. A deesser is in fact a high frequency limiter and it definitely is a very powerful tool. This tool was originally invented to take care of agressive “sss” sounds that are often present when recording speech, but it can be used for anything dynamic in the high frequencies. I personally use deessers on about everything that has dynamic high frequency content. It’s mainly useful for cymbals, high hats, vocals, shakers, guitars, and of course, overall mixes.


VCA, Opto, Vari-Mu, FET compressors… When to use which ?

all-green

As you probably already know, I’m a big fan of analog compressors. I owned several of them in the last few years and I keep rotating and accumulating them in my rack. My objective was to have at the very least one of each kind into my rack, an objective I have accomplished only relatively recently.

Being a fanatic of compressors, I was amazed to hear some people ask questions like “Should I buy a LA-2A or a 1176 ?”. I mean, these are completely different machines. What are you trying to achieve in terms of texture exactly ?

The truth is that each type of compression will have a distinctive sound and one of the secret of achieve textures, is by having the right combination of compressors doing the right things. You cannot interchangeably switch a LA-2A with a 1176, they have little in common.

The more I search on the net, the more I realize that people do not master the differences between each compressor and don’t seem to know when to use which and most importantly, WHY?

I had this guy who bought one of my 1176 recently. This guy is a freelancer and does a lot of speech recording. He is obsessed with clean and pure sound. Yet, he wanted absolutely to have an LA-2A for some reason. Well, it’s not because one piece of gear is popular that it suits your needs. LA-2A has a very nice distortion content, which makes a vocal cut through mixes, but that effect wouldn’t really appropriate for speech recording.

Back to the subject, there are 4 big families of compressors, and I would like to review each of them with you. I added a picture of the compressor I’m using for each type.  Here they are:

VCA

BC1-S_900

VCA stands for “Voltage Controlled Amplifier” and its compression behaviour is based on PEAK, with fast attack and release.  We will start with that one as it is arguably the most used one. Most of the compression plugins are based on its principle.

This family of compressor tend to react almost too quickly, in my opinion, as they are very sensitive to micro-dynamics and transients. VCA tend to be very efficient for some applications and completely inappropriate for others. Their response curve is generally linear (hard knee), but some design integrated the soft knee in order to adapt them to mix bus compression purposes.

When to use it: You should use it when you have transients that are some order of magnitude out of the dynamic range where they should be. For example, a very percussive recording will benefit greatly from having a VCA controlling the peaks as it will do it efficiently and transparently.

When not to use it: You should not use a VCA when you try to adjust the average volume of a song. This thing has no macro-dynamic effect whatsoever. It’s good for instantaneous drastics changes and peaks, and that’s it. It doesn’t really smooth out stuff neither as would do a varimu or an opto.

The advantages of using VCAs: It can take care of intense transient with transparency. It can give a sense of punch and aggressiveness.

The limitations: It will always sound “thin”. It’s rather hard to warm up a signal with a VCA. It feels sterile. It’s also harder to make it feel smooth as cake. To do so, longer release time are required, but by doing so feels like covering the speaker with a sheet.

Exemple of compressors using this design: SSL, Neve and API mix bus compressors, Focusrite RED, DBX 160, Alan Smart C1.

OPTO

MAC_Comp_Front_1024

I’ve recently read a funny quote in book about mastering. The worst thing is that It was written by someone knowledgeable… It was basically saying something like “Since there is nothing faster than speed of light, the opto compressor acts very rapidly”. This makes me laugh, as the opto is about as slow and smooth as a compressor can possibly get.

Opto uses photocells as a detector and a light bulb to determine the gain reduction. As the signal passes through the light bulb, it will make the light bulb glow more or less depending on the intensity of the signal. Since the intensity of the light is function of the temperature of the filament, the light intensity will vary as a smoother version of the signal. In other words, if the detector in the VCA design sees the exact signal, the opto one will see an averaged over time version of it.This makes the opto compression much less sensitive to transients, peaks and sudden spikes. For this reason, much higher ratios can be used.

In the digital world, the opto effect can be simulated using an “RMS” based compressor. As opposed to peak compressors, the detector will calculate the “average” (or the area under the curve) over a certain amount of time and will base its decisions on it.

When to use it : Opto will do a wonderful job at taking care of macro-dynamics. Basically, it can even out the average levels of a song. For example, if a song is very quiet at the beginning but quite loud at the end, a VCA would do absolutely nothing during the first section and then smash everything during the loudest part, where an opto would work a bit all the time and even out the song levels without even be noticable. It also can be used when you want to tighten up a bit the mix without killing the transient and leach the life out of it.

When not to use it: When you have intense peaks and spikes, it will simply not be able to handle them. It will let them pass for once, but it will also make the opto pump in an obvious way. Also, bass heavy program will make the compressor pump as well. JLM Mac Opto comp I use has a high pass side chain filter for this purpose.

The advantages of using Optos: Very transparent. Tightens up a mix without getting noticed. Doesn’t flat out the transient.

The limitations: Pumping is really the big issue in presence of low end content, so make sure you have a high pass filter in sidechain when you use it on a mix.

Exemple of compressors using this design: LA-3A, JLM Mac Opto Comp, LA-2A, TubeTech CL1B.

Variable Mu (Tube Compressor)

mastering-variable-mu-altec-436

Although it’s the earliest compressor design you can find, the Variable Mu design is still very popular for high end audio application. Manley’s Variable Mu has been used on countless platinum records and is here to stay. Very few compressors have become an industry standard for mastering as did the Manley.

(Just to make things clear, an opto compressor with a tube stage at the end IS NOT a Variable Mu. In the variable mu design, the compression is actually achieve using the tube itself. )

Variable Mu compressors produces incredibly smooth compression. It’s transfer curve is far from being linear. The actual ratio increases with gain reduction. That means that louder a transient is, the harder it is going to be compressed.

Another characteristic of this type of compression is the time constants. It simply doesn’t respond as fast and impulsively as a VCA or FET. The tube compressor takes its time and never over-react. It has this ability to glue a mix together like no other type of compressor because of that.

When to use it: When a mix has reach its dynamic coherency, just pass it through a tube compressor. It will tighten up and smooth it up. The whole mix will start to blend properly until it become homogeneous. It can be use to make things softer and smoother. For example, a guitar that has thin and aggressive sound can be smoothed and warmed up with a variable mu.

When no to use it: To solve dynamic issues or to get punch. That’s simply not the compressor for that. The time constants are too slow to make it agressive or punchy. This type compressor has no aggressiveness whatsoever in its compression behavior. To be aggressive is just no part of its character. It’s also too slow to handle intense dynamic problems.

The advantages of using Vari-mu: they have a very warm, rich sound. It has a sound that simply cannot be achieved using plugins. It brings depth, texture and definition… well probably the sound you’re looking if you like it smooth.

The limitations: Operation without a sidechain filter can be troublesome as it will kill the bass. This compressor cannot do punchy.

Exemple of compressors using this design: Fairchild 670, Altec 436C, Manley Variable Mu. I personally use the Manley and the Altec (Edit: I recently acquired a HCL Varis, which is an incredible unit!).

FET

2015-05-30 09.34.13

The last, but definitely not the least, the FET!

I personally love the sound of FETs. To me, 1176 is clearly one of the best sounding compressor in the history. Not surprised to find a bunch of them in every studio. Very few compressors can be placed on every tracks like this one.

So, if you are looking for punch, that’s the compressor. What Opto and variable mu simply can’t achieve, this one does. The slowest attack time available on the FET is usually faster than the fastest attack time on a variable mu! Yet, it’s far from being as transparent as a VCA. It definitely has more character. Usually, when you use a FET, you want to hear it working, because it’s a sound we all like. (Think of a typical rock snare).

(BTW, I personally bought DIY kits of 1176 clone. I went a bit crazy at the time and I bought 10 of them! Now I have 4 of them in my rack and the remaining ones are available for sale at discounted rate if you’re interested: http://www.quantum-music.ca/store.php#!/1176-clone-Matched-pairs-available/p/48424840/category=12631169)

When to use it: For that punch, a 1176 can be used on drums, vocals, bass, and everything else that needs bite and punch. It’s known for its “Snap” on drums. The distortion on this compressor is really rich and warm. I personally have not tried any other FET models than the 1176, but I know Slate Technology also produced a version with a side chain filter (what a great idea!).

When not to use it: Unless you have a side chain filter, I wouldn’t recommend to use it on a mix with the compressor on, unless it’s the bass or the kick you want to give the punch to. I personally use it in my mastering chain, but with the compressor turned off. That’s actually an old trick, I’m not the only one to use it on a mix bus only for it’s color. The output transformer sounds very warm, so although it’s not compressing, there is a great benefit of having it in the chain as a line amplifier. It brings the “vivid” effect so hard to achieve in digital, even using the best saturation plugins available. The 1176 just does it more colorful than reality, it’s that intense.

The advantages of using a FET: They rock… The punch is really hardcore. They have a very warm, rich sound. It has a sound that simply cannot be achieved using plugins. It brings depth, texture and definition. Also, best of all, high quality clone of the beast can be found at reasonable price. I personally use the hairball. While they are tough and sensitive to calibrate properly, once done well, they will deliver the sound.

The limitations: Most of them don’t have a sidechain filter, so it doesn’t seem suitable for mix bus compression.

Exemple of compressors using this design:  1176 and all its clones!

Conclusion

I hope this helped you have a better idea of what the different type of circuitry can bring to your mixes. Indeed, the question isn’t which one is best; each of these design have their advantages, strength and application, but really when to use which. I hope I have done my job well, if not, let me know if you have any questions.

Now let’s finish on a short home made mantra :)

Stop putting VCAs on everything simply because that’s the default compressor design that comes with every DAW.


Compression: What about room acoustics ?

Mastering-Studio-3d-model

Last post discussed a bit about how monitoring was important in order to properly hear attack and release time on compressors.

Fred’s question regarding that matter was: What about room acoustics, does it also have an effect on how we perceive attack and release time.

The short answer is yes.

… But a more complete answer follows:

Our perception of release time

Room acoustics affect our perception of release time a LOT. Let’s say you have a long but not wide room with parallel walls, your room will have a long decay of reverb, which will make you think that every hit lasts forever. The effect of the release time will be blurred into the reverb of your room.

Interesting fact #1: I’ve noticed over the years that people tend to use release time settings that are way too slow. Acoustics might be a cause. Slow release time decreases the perceived loudness and attenuates the feel of definition.

Our perception of attack time

For the attack settings, if your room is big enough it won’t be a problem, as the delay between the original sound and the early reflections will be long enough to separate them distinctively.

Unfortunately, that’s probably not the case for most of you. If you operate from home, great are the chances that you have a low ceiling and the speakers are close the back and side walls. That is a real problem. In that case, the early reflections will blend with the original signal, making the transient less clear and defined that it should be.

Interesting fact #2: I’ve noticed over the years that people tend to use attack time settings that are way too fast. Here again, acoustics might be a cause. Fast attack times kills the magic and makes everything sound flat and dull.

early-reflections

All this is all nice, but what can we do about it ?

“Acoustic treatment !” would be the obvious answer, right ?  To write a full document on acoustics is out of the scope of this actual post, but I promise I’ll do so in the next week. There are so many aspects to cover on the subject, that one post wouldn’t make it.

That said, in my opinion, Here are some quick guidelines you can follow:

  • Pick the right room first.
  • Your room shall be as big as possible, with a high ceiling.
  • Get your speakers away from the walls. The speakers shouldn’t be too close to any surface. If it’s the case, build some acoustic panels and using a mirror, install them where it will catch the early reflections.
  • Consider building a cloud (acoustic panels that you hang on to the ceiling).
  • Install a bass trap. It won’t do much about early reflections but it will definitely tight your low end.

And that’s it ?

Not really. The acoustics can have an effect on the frequency response as well. You will tell me that this should affect EQing and not compression settings. Error!

That’s for another post though!

Compression in-depth: The beginning

2015-05-30 09.34.13

As far as I can remember, I’ve been a obsessed with compression.

My father was a live sound engineer. I used to hang out where sound professionals were working. I was just a little kid trying pass time. At the time, I wasn’t aware of the chance I had; I had access to plenty of recording materials. I had access to microphones, tape recorders, mixers, etc. I was playing with it, recording stuff I suppose, I can’t seem to remember.

One thing I remember though, is how I liked recording CDs onto tapes. I just liked the punch of the kick snapping into the tape recorder. It sounded richer and punchier. I had no idea why at the time. Indeed, a tape recorder is very good compressor but also a harmonic generator.

Enough spoken about the past and let’s discuss about we are about to cover here. I’m not here to brag or anything, but I have an ear trained for dynamic. I seem to hear dynamic at a much deeper level that anyone I’ve met.

I want to write about compression, first because it’s a passion for me, but secondly because I feel that compression is a highly misunderstood concept. Some people put compressor on stuff only because they are told that’s what professionals do. Even acclaimed professionals admit regularly admit that they still don’t get exactly how compression really works.

I used to buy a lot of magazine about audio, because I wanted to learn the tricks about compression only to find out that the author of the article didn’t know sh*t about using compression. They seem to set compressors kind of randomly. They seem to understand threshold and ratio, ok, but they don’t seem to know what attack and release settings do.

Here is something funny: People that think they are doing mastering by applying multiband compression on a mix and leach the life out of it instantaneously. Yes, you heard me right: The same people that don’t know how to use a compressor properly end up applying multiband compressor on a master bus. Ouch!

Let’s define some basic rules here.

Rule #1: Forget about multiband compressors until you are a genius at single band compression…And even then, keep forgetting them.

Golden Trick #1 : Use side chain filters on single band compressors in order to treat the dynamic specifically to the frequency range where the problem is.

If you want to become a master at… mastering, or even mixing, you will need to work your compressors at a much deeper level than just adding plugins, applying a preset and guess from there. You will actually need to listen to the material and apply the change you have simulated in your mind before hand.

I would say the first step is actually wondering why a compressor is needed on the first place. Most people’s answer is to bring volume… Terrible answer. I personally never worry about volume, although everything I do sounds naturally loud. Applying compression is all about working textures. Controlling and smoothing dynamics while keeping it well alive and vivid.

When I listen to a mix, everything that seems out of control in terms of dynamic will annoy me. It might be the cymbals that seems to have to much freedom, or the hit of a snare that pops out too much. Whatever what frequency range it is, the recipe is about the same. Using a compressor that allows you to sidechain filter the whole thing, you can isolate the problem from the rest and leave the rest untouched. That’s part of the secret to achieve a very effective, yet transparent compression.

Rule #2: Don’t use preset. Actually listen to the music and give it what it needs.

Golden Trick #2 : Attack and release are the ultimate parameters to define punch and make compression transparent.

Most people don’t hear well attack and release settings. I guess, it isn’t obvious to someone who doesn’t know what to listen at. The most common real reason is that people don’t have good monitoring system. An accurate monitoring system shouldn’t simply have a flat frequency response but also a very fast and precise dynamic reproduction. In that case, all speakers below $600 a pair won’t get you close. The reason is that you will be hearing the speaker transient response rather than the actual transients of the mix. How can you set a release rate if your woofer is slower than the transient? Well, you will end up doing the same thing as they are doing in these magazines: Educated guesses at best. If you can’t afford a $4k+ pair of monitor, just get the best headphones you can afford ($400+) and start from there.

To be good at compression, there is no short cut. You need to:

1. Hear the dynamic well. That includes training your ears, but also have an appropriate set of speakers/monitoring.

2. Try a lot of combination and listen to how the dynamic reacts.

I hope this has been useful to you. Please do not hesitate to leave any comment/question down here. I will definitely come back with more precious information on advanced compression techniques!

Finally: here is a bonus gift to close the post:

Platinum Trick #1: Compress everything that seems out of control, but just a little. Stack compressors with very little Gain reduction on each of them when needed. Keep compression as transparent as possible, but control well every peak. Use relatively long attack time (dynamically alive), and super short release time (transparency). This generally gives the punchiest, yet well controlled dynamic you hear on high end loud and punchy records.